
The Moment the Card Flips
You've finished your pre-draw actions: your character ability is on cooldown, you deposited a spare tool into the Shared Inventory, and nobody revealed themselves as a Carrier.
You reach for the central deck, flip the top card, and the room goes quiet. It's an Encounter.
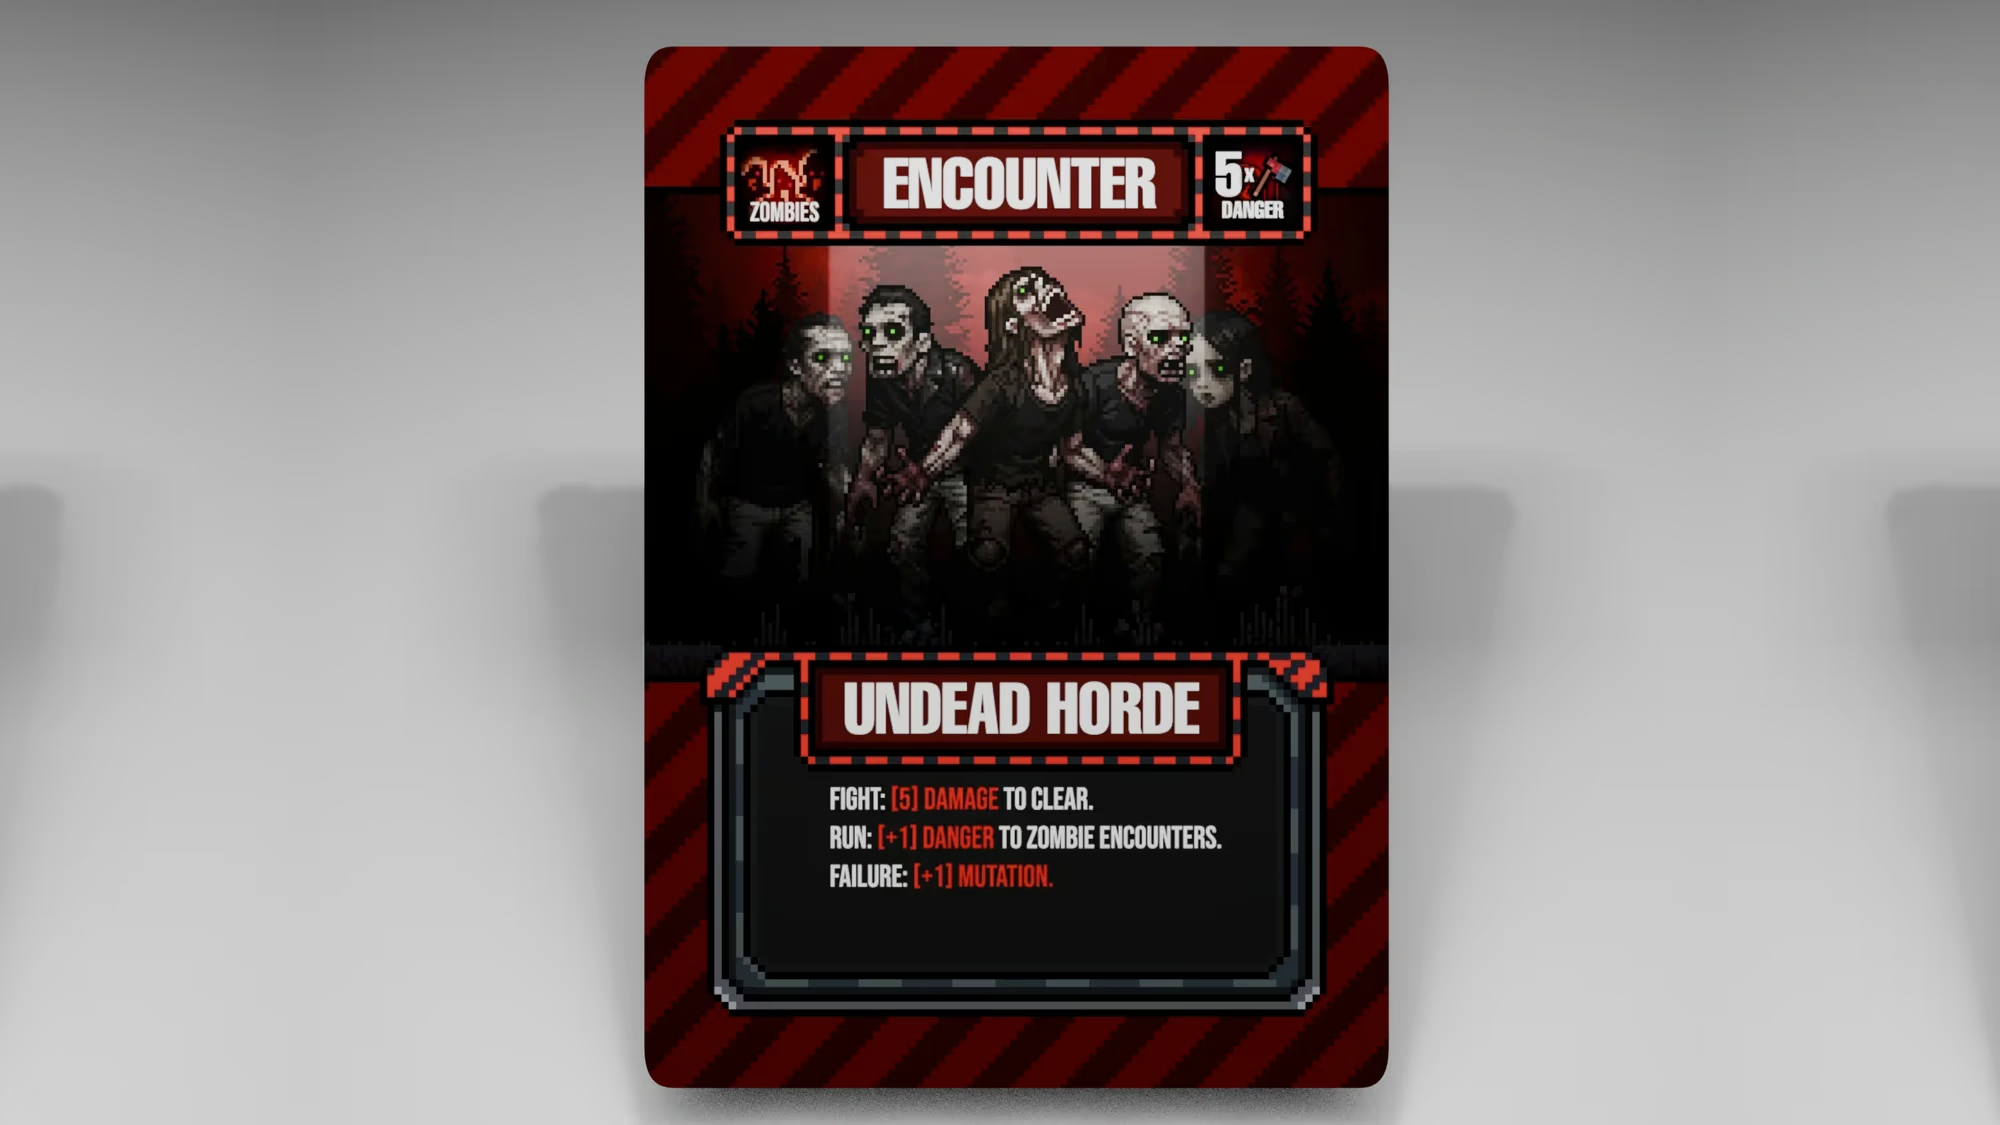
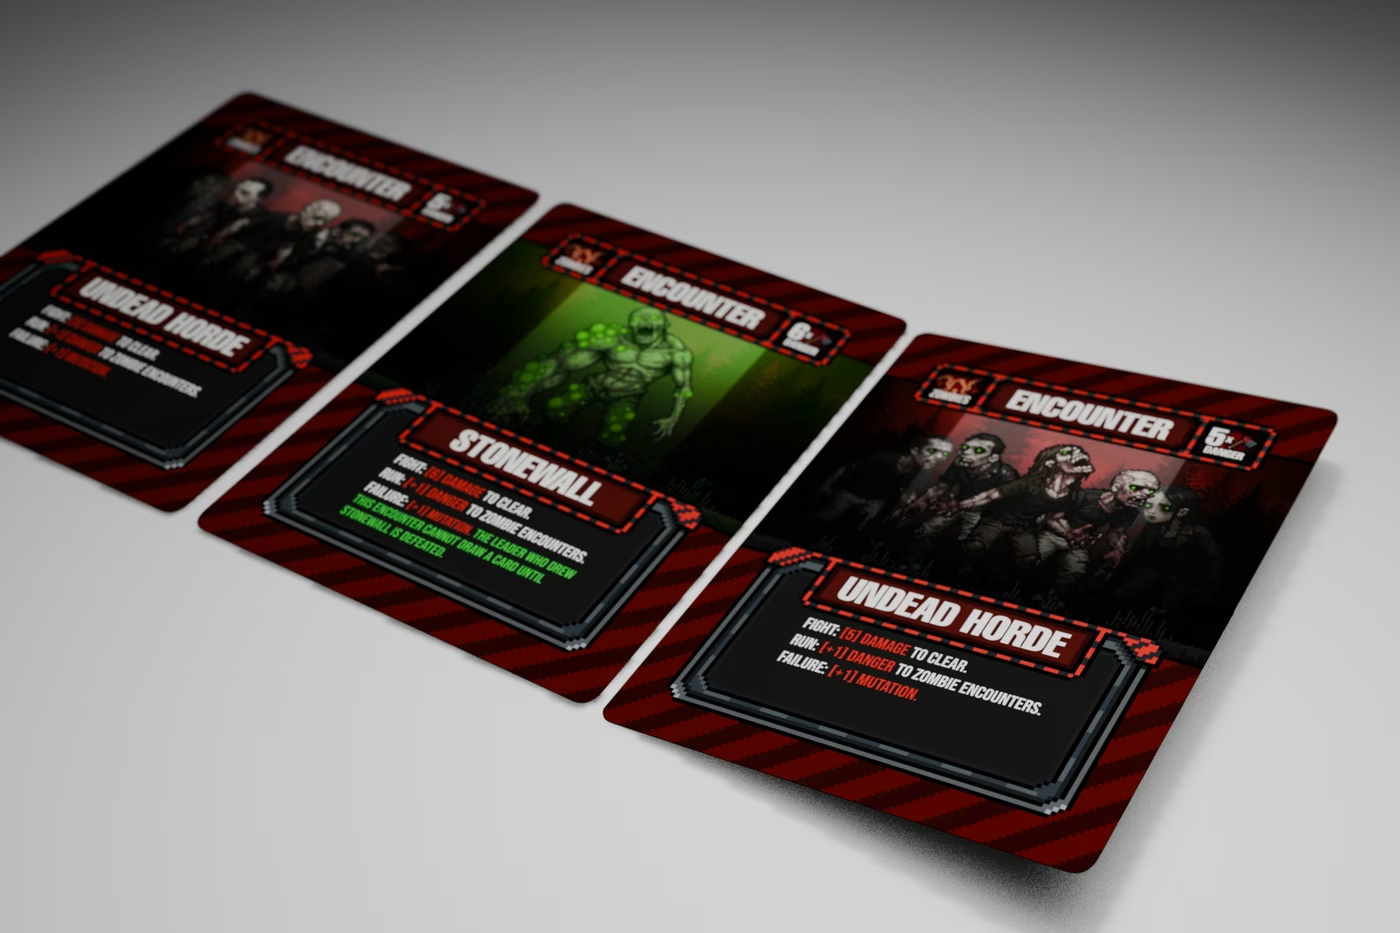
Whether it's a standard Undead Horde, a hulking Behemoth, or The Matriarch, the table suddenly shifts from resource planning into immediate crisis management. Here's exactly how an Encounter resolves under the new v4.0 rules, using the Undead Horde as our example throughout.
Assessing the Threat
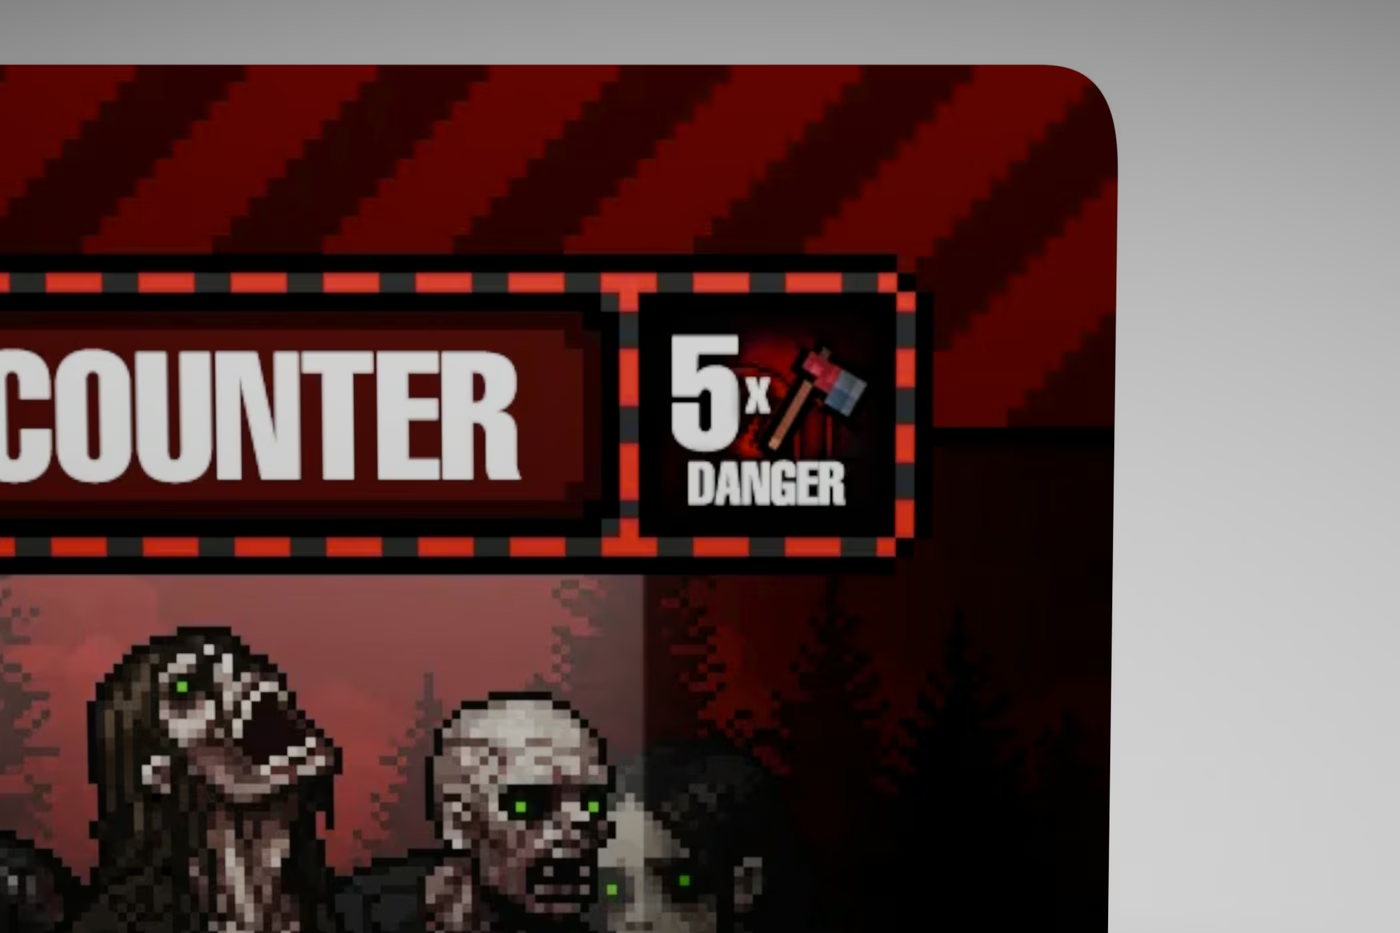
Every Encounter card displays a damage threshold representing the horde's strength. The Undead Horde shows a clear requirement: 5 Damage to clear. Anything less, and the fight is lost.
As the active player — the Turn Leader — the call is yours from here: run, or stand and fight.
Running from an Encounter
The Undead Horde is temporarily bypassed and parked for later. The cost: fleeing adds +1 Danger to the next Zombie Encounter your team faces.
If the table is caught off-guard with empty hands or weak weapons, you can choose to run. Running buys you breathing room now, but makes the very next fight harder to survive.
The group is allowed a maximum of 3 Run attempts across the entire game. Once all 3 are spent, you can no longer flee and must stand and fight. Running isn't the same as failing: running dodges the fight for a Danger cost, while failing means your strike team fought and came up short.
Standing to Fight: Assembling the Strike Team
If the Leader decides the group is ready to confront the Undead Horde, you forgo running and commit to combat. This is where the real decisions start.
Dynamic Team Sizing
There's no more forcing an artificial headcount like "choose exactly 4 players." Party size is completely flexible — the Leader picks who joins based on what weapons people claim to hold.
- Heavy Tier 2 or Tier 3 weapons on hand? Send a lean 2-person strike team and conserve resources.
- Only basic Tier 1 weapons? You'll need more players to combine enough attacks to hit the threshold.
The Overencumbered Restriction
Only active, agile survivors can fight. Any player holding 4 or more cards is marked OVERENCUMBERED and can't be chosen until they reduce their hand to 3 cards or fewer.
The Social Deduction Dilemma
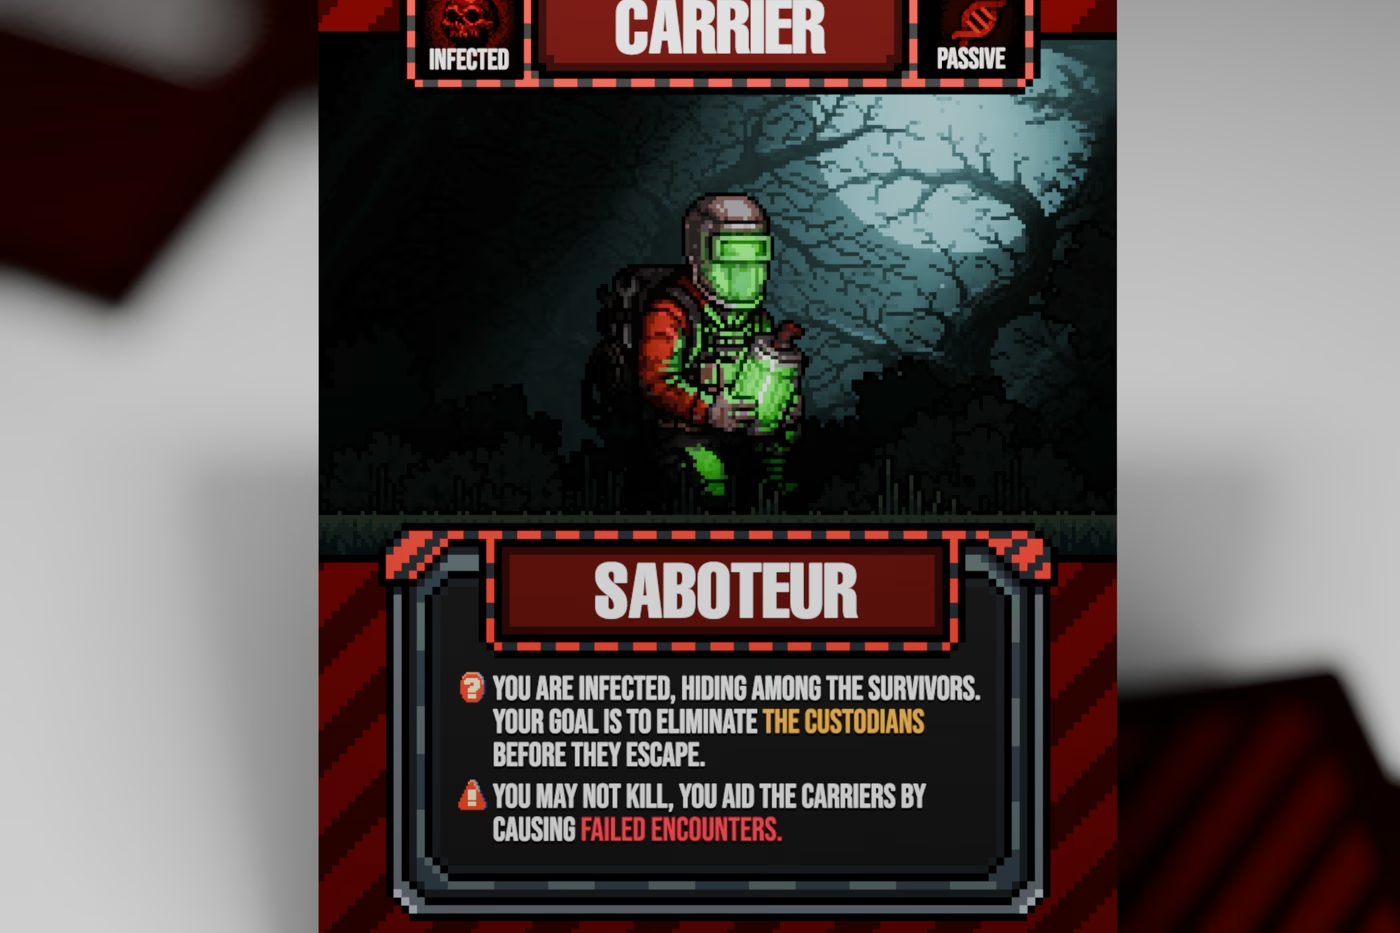
Before locking in the squad, the Leader relies on table talk — everyone will claim they can contribute damage. But every player invited onto the strike team is another chance for a hidden Carrier to sneak in and sabotage the fight.
Contesting the Strike Team
Once the Leader nominates the players for the fight, the rest of the table gets a say. If the group distrusts the Leader's selection, or suspects a hidden Carrier was placed on the team, they can choose to contest the encounter.
Here's what happens when an encounter is contested:
- The nomination is immediately cancelled and automatically counts as a Run.
- The encounter card is placed face-up on the table as a parked threat.
- This consumes 1 of the group's 3 maximum Run attempts.
- The standard Run penalty applies: +1 Danger is added to the next Zombie Encounter.
Contesting gives the survivors an emergency brake if they suspect the Leader is setting up a sabotaged team — but it costs a precious Run attempt and raises the danger for the next fight.
Submitting Combat Cards
Once the Leader locks in the strike team, each participating player secretly chooses 1 card from their hand and places it face-down into a central combat pile.
Here is what can be contributed:
| Card Type | Effect | Deck Count |
|---|---|---|
| Tier 1 Weapons | +1 Attack Damage | 20 cards |
| Tier 2 Weapons | +2 Attack Damage | 10 cards |
| Tier 3 Weapons | +3 Attack Damage | 5 cards |
| Live Samples (Sabotage) | -3 Attack Damage | 15 cards |
The Sabotage Dilemma
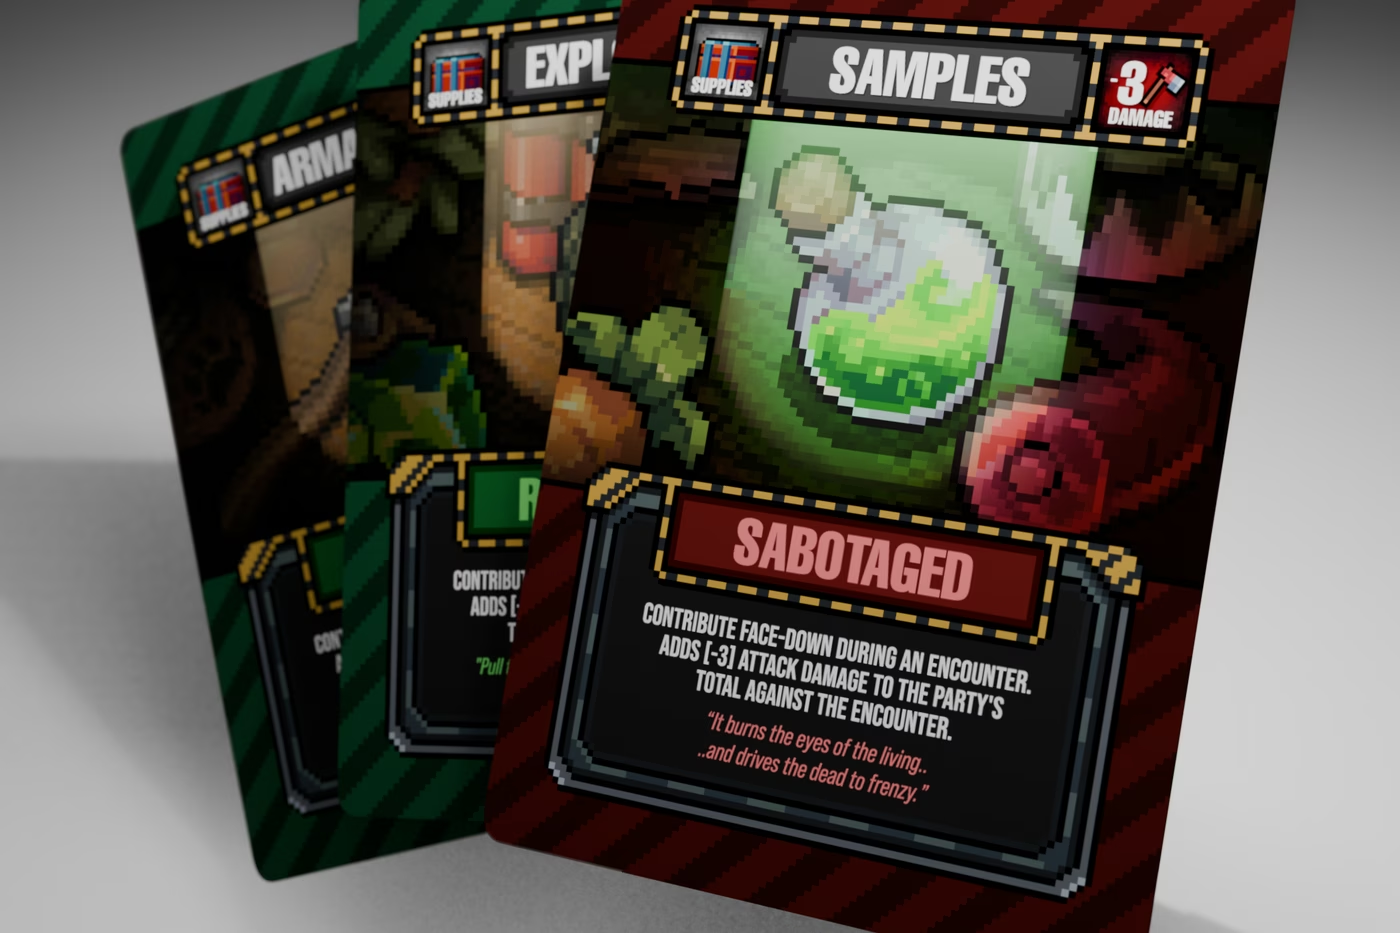
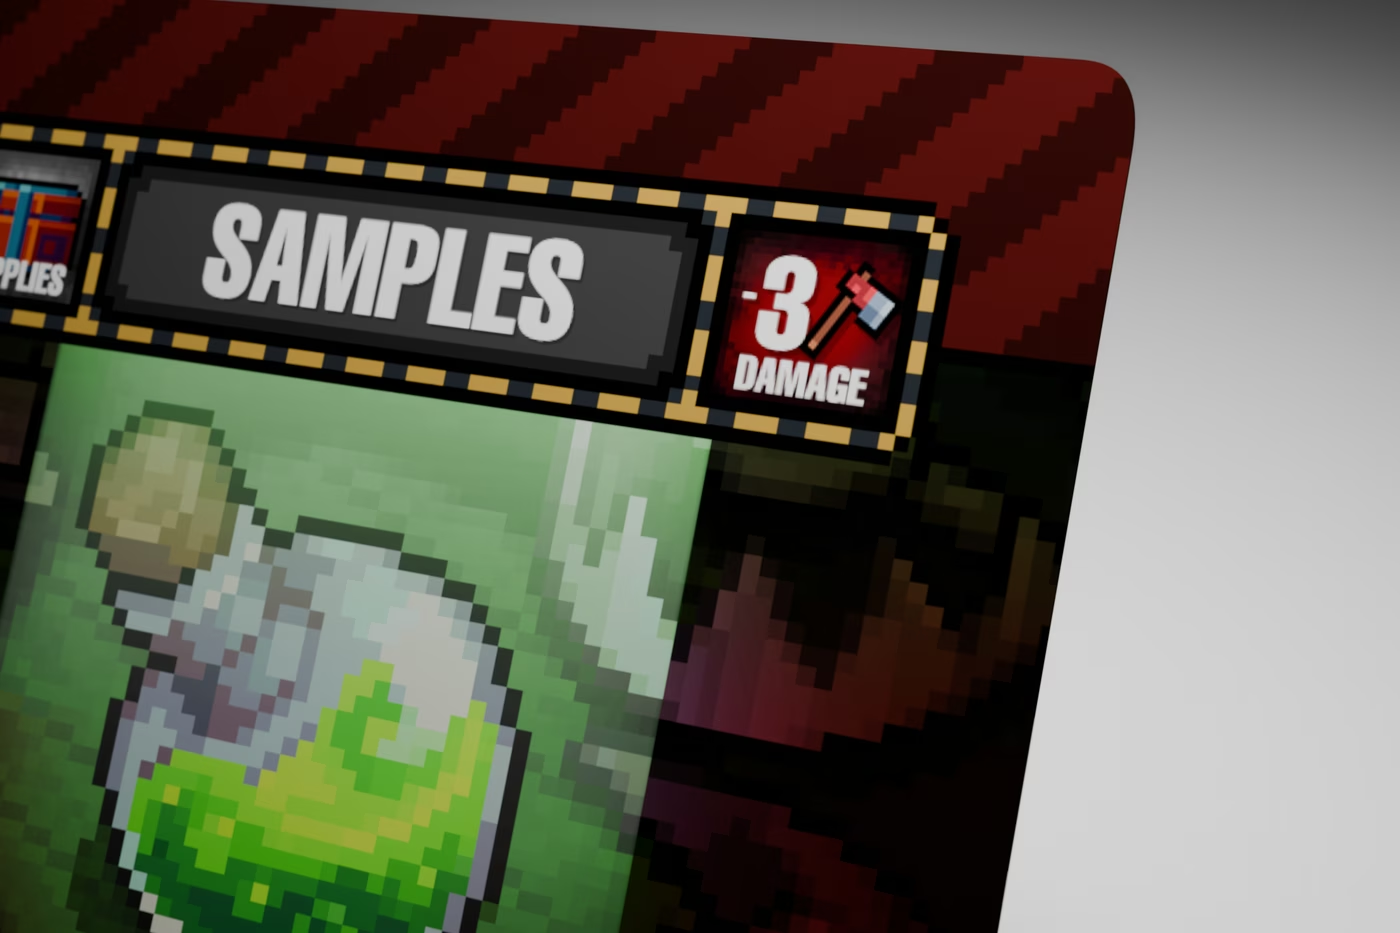
Survivors want to contribute their best weapons to reach the 5 Damage needed to clear the Undead Horde. Carriers want the encounter to fail — by submitting a Sample, they inflict a -3 Damage penalty on the group's total attack score.
Revealing the Damage
To protect hidden identities, all submitted cards are gathered, shuffled thoroughly, and flipped face-up together in the center of the table.
Total Team Damage = (Sum of Weapon Damage) − (Sum of Sample Sabotages)
Scenario A: A Clean Victory
| Revealed Cards | Armaments (+1), Armaments (+1), Medical (+2), Armaments (+1) |
| Calculation | 1 + 1 + 2 + 1 = 5 Total Damage |
| Result | Victory. 5 meets the 5 Damage threshold — the horde is defeated with zero sabotage. |
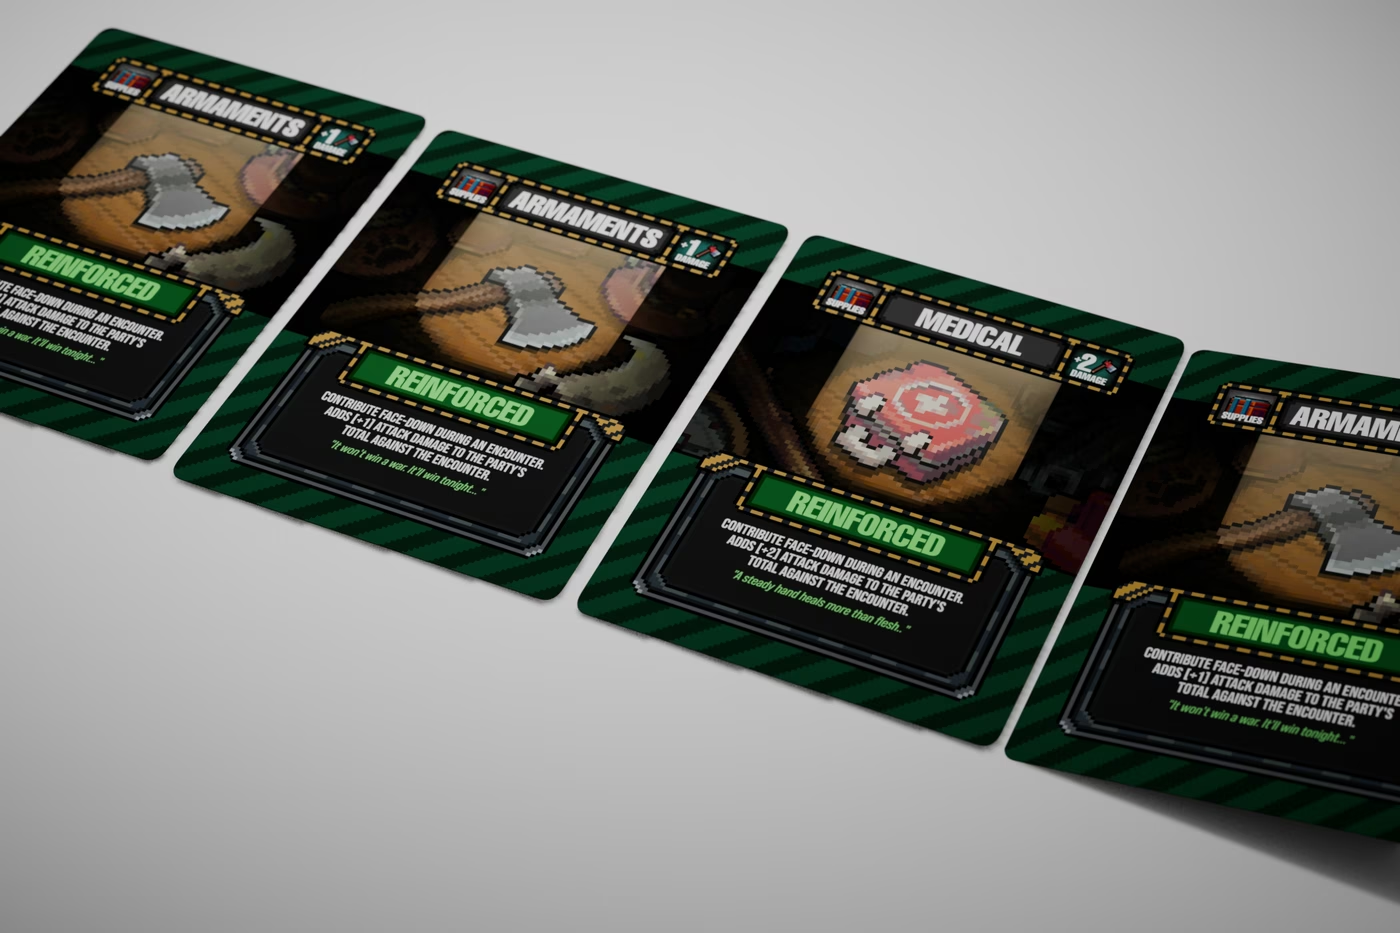
With zero sabotage cards played, the strike team successfully hits the 5 Damage threshold needed to clear the Undead Horde.
Scenario B: The Carrier Sabotage
Now say one player secretly dropped a Sample instead of a weapon:
| Revealed Cards | Armaments (+1), Medical (+2), Medical (+2), Sample (-3) |
| Calculation | 1 + 2 + 2 − 3 = 2 Total Damage |
| Result | Defeat. 2 falls short of 5 — a hidden Carrier successfully sabotaged the squad. |
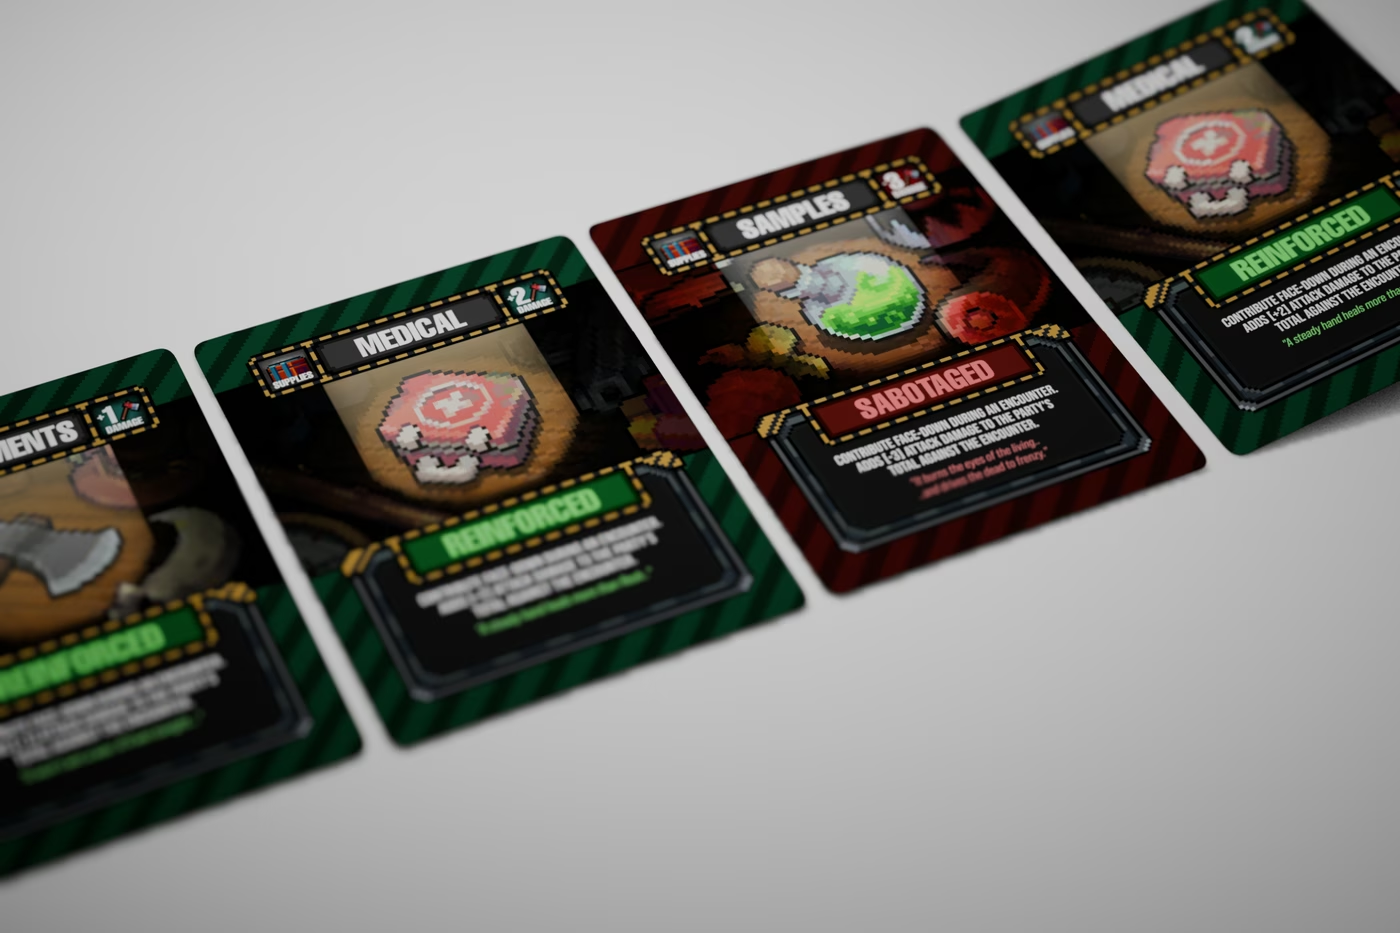
A hidden Carrier slipped in a Sample instead of a weapon, so the team only dealt 2 damage — short of the 5 needed. The encounter fails: the group takes the +1 Mutation penalty, and the table immediately starts interrogating the 4 strike team members to find who sabotaged them.
Victory or Defeat
Once the damage is tallied against the Undead Horde's 5 Damage threshold, the encounter resolves based on the total.
On victory (total damage is 5 or higher):
- The Undead Horde is defeated and placed into the discard pile.
- All 4 submitted combat cards go to the discard pile, ready for Rangers like the Forager or Blacksmith to scavenge later during Daybreak.
- Participating character passives activate, such as the Survivalist's Recover ability granting a random Supply card refund.
- Any active Danger modifier on this fight is cleared.
On defeat (total damage is less than 5):
- The group suffers the penalty listed on the card: +1 Mutation. Advance the mutation tracker by 1.
- Any active Danger penalties remain in effect.
- The interrogation phase begins. The table now has concrete proof that a Carrier was on the strike team and secretly dropped the Sample sabotage. Accusations, bluffs, and deductions start immediately as players try to figure out who lied about their hand.
Reclaiming Run Attempts
Encounters the group ran from don't stay parked forever. Once you've scavenged better weapons, any player can skip their normal draw and challenge one of those face-up encounters instead.
If the strike team clears it:
- The encounter card is discarded.
- The team reclaims 1 spent Run attempt for future emergencies.
If they fail, it's treated as a normal defeat — the +1 Mutation penalty and all. This gives survivors a real tactical choice: spend a turn clearing a known threat to regain an escape slot, or keep pushing deeper into the unknown deck.
What This Brings to the Table
By connecting encounter resolution directly to tiered weapon math, dynamic team sizes, and the ever-present threat of a Sample sabotage, combat in Carrier is no longer just a numbers check. Every encounter becomes a high-stakes interrogation.
As the Leader, you're constantly weighing the odds: risk bringing along a player you don't fully trust because you desperately need their firepower, or head into the horde shorthanded and hope your basic weapons are enough?
We're bringing this updated combat system to our next playtest sessions to see how players handle the pressure. Let us know your thoughts — see you in the next dev log!